WordPress (WooCommerce)
General information
WordPress is one of the most popular CMS platforms globally, offering a wide range of tools that allow you to create websites from scratch or use pre-made themes. This means you can customize every detail of your site without needing to involve developers. By using WooCommerce and a payment plugin from Tranzzo, you can transform your site into a fully functional online store.
Information on the plugin:
Plugin Documentation Repository on GitHub.
Supported WordPress versions: 5.8, 5.9, 6.0, 6.1, 6.2, 6.3, 6.4, and later.
We do not recommend customizing the plugin, as this can complicate updates and maintenance.
Plugin installation
Installation via FTP Client:
- Upload the plugin folder (tranzzo_gateway) to the site server in the following directory: [root directory]/wp-content/plugins.
- In the WooCommerce menu, go to the Settings page, navigate to the Payments tab, and activate the Tranzzo payment method (Tranzzo Gateway).
Installation via the WordPress admin panel:
- Download the tranzzo_gateway plugin folder from the repository.
- Add the tranzzo_gateway folder to a zip archive. Ensure the ReadMe.md file is not included in the archive.
- In the WordPress admin panel, proceed to the Plugins menu, click the Upload Plugin button, upload the archive, and activate the plugin.
- In the WooCommerce menu, go to the Settings page, navigate to the Payments tab, and configure the plugin.
Setup guide
Configuring the plugin:
- Register in the merchant portal: obtain API keys for the test project (refer to the integration checklist for more details).
- Access payment settings: in the WordPress admin panel, go to WooCommerce -> Settings -> Payments and select the Tranzzo payment method settings. Fill in the required API keys in the project settings.
- Select mode: choose whether the plugin will operate in test mode or accept live payments. Use the Test Mode option when using the test keys (test mode is only available with test project keys).
- Choose payment flow: select the desired payment scenario (one-step or two-step) using the corresponding option.
- Configure order status correlation: set up the connection between order statuses in WordPress and transaction statuses and methods in Tranzzo. The available options will change depending on the selected payment scenario (one-stage or two-stage).
Classic payment flow for one-step payments:
- Start of payment processing (purchase transaction with pending status) - Processing. The order is created, the checkout is generated, and the payer has entered their payment details and initiated the payment. The payment is being processed, or confirmation is expected from the payer (such as passing 3DS verification).
- Error during payment (purchase transaction with failure status) - Failed. After creating the order, the payer's attempt to make a payment was unsuccessful.
- Successful payment (purchase transaction with success status) - Completed. The order has been successfully paid.
- Full refund (either one refund transaction for the entire payment amount with success status or the sum of all partial refunds equals the payment amount) - Refunded. After a successful payment, the funds were returned in full.
Classic payment flow for two-step payments:
- Start of funds reservation processing (
authtransaction withpendingstatus) - Processing. The order is created, the checkout is generated, and the payer has entered their payment details and initiated the payment. The payment is being processed, or confirmation is expected from the payer (such as passing 3DS verification). - Error during funds reservation (
authtransaction withfailurestatus) - Failed. An attempt to reserve funds failed after the order was created. - Successful reservation of funds (
authtransaction withsuccessstatus) - On hold. Funds have been successfully held. - Successful capture of a portion of held funds (
capturetransaction withsuccessstatus for a part of held funds) - Partial payment. Successful payment using part of the amount that was previously reserved. - Successful capture of the full amount of reserve (
capturetransaction withsuccessstatus for the full amount of held funds) - Completed. Successful payment using the entire amount that was previously reserved. - Voiding reservation (
voidtransaction withsuccessstatus) - Cancelled. The previously created reserve was cancelled. - Full refund (either one refund transaction for the entire payment amount with
successstatus or the sum of all partial refunds equals the payment amount) - Refunded. After a successful payment, the funds were returned in full.
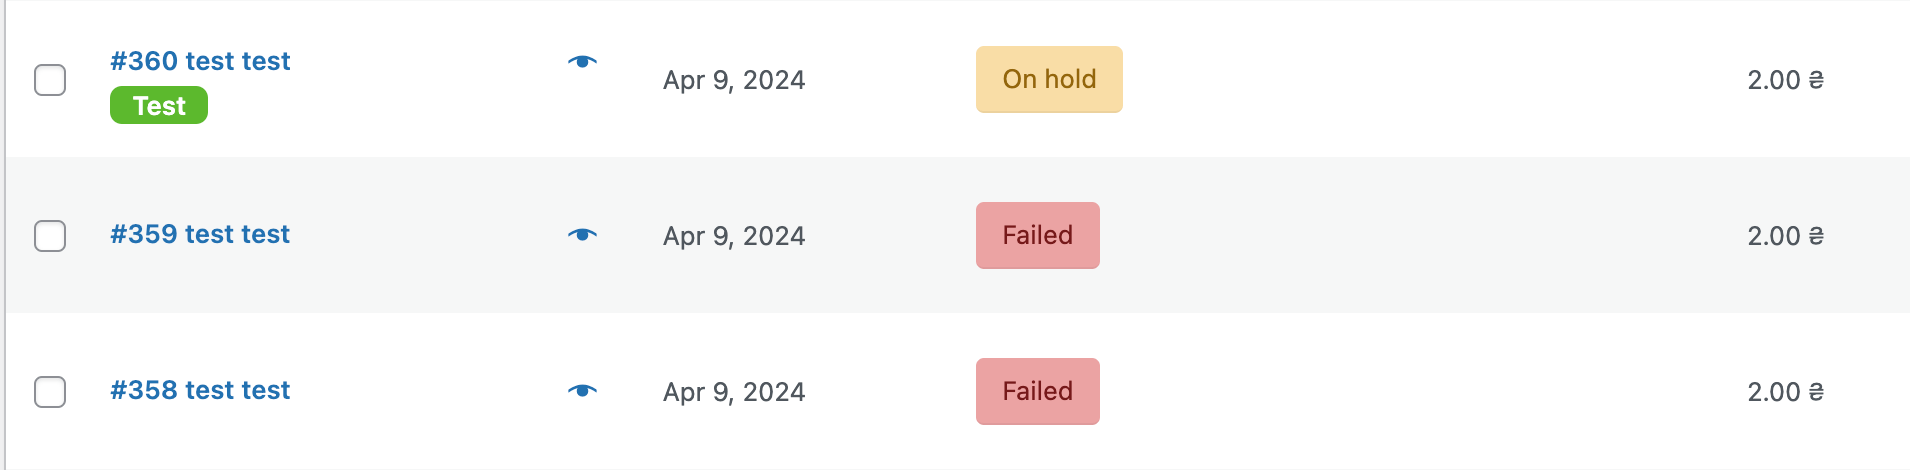
Orders for which test payments were made will have a Test badge. An example of a test payment:
All payments for your orders are displayed in the merchant portal. All transactions for an order in WordPress are shown in the corresponding entry in the list.
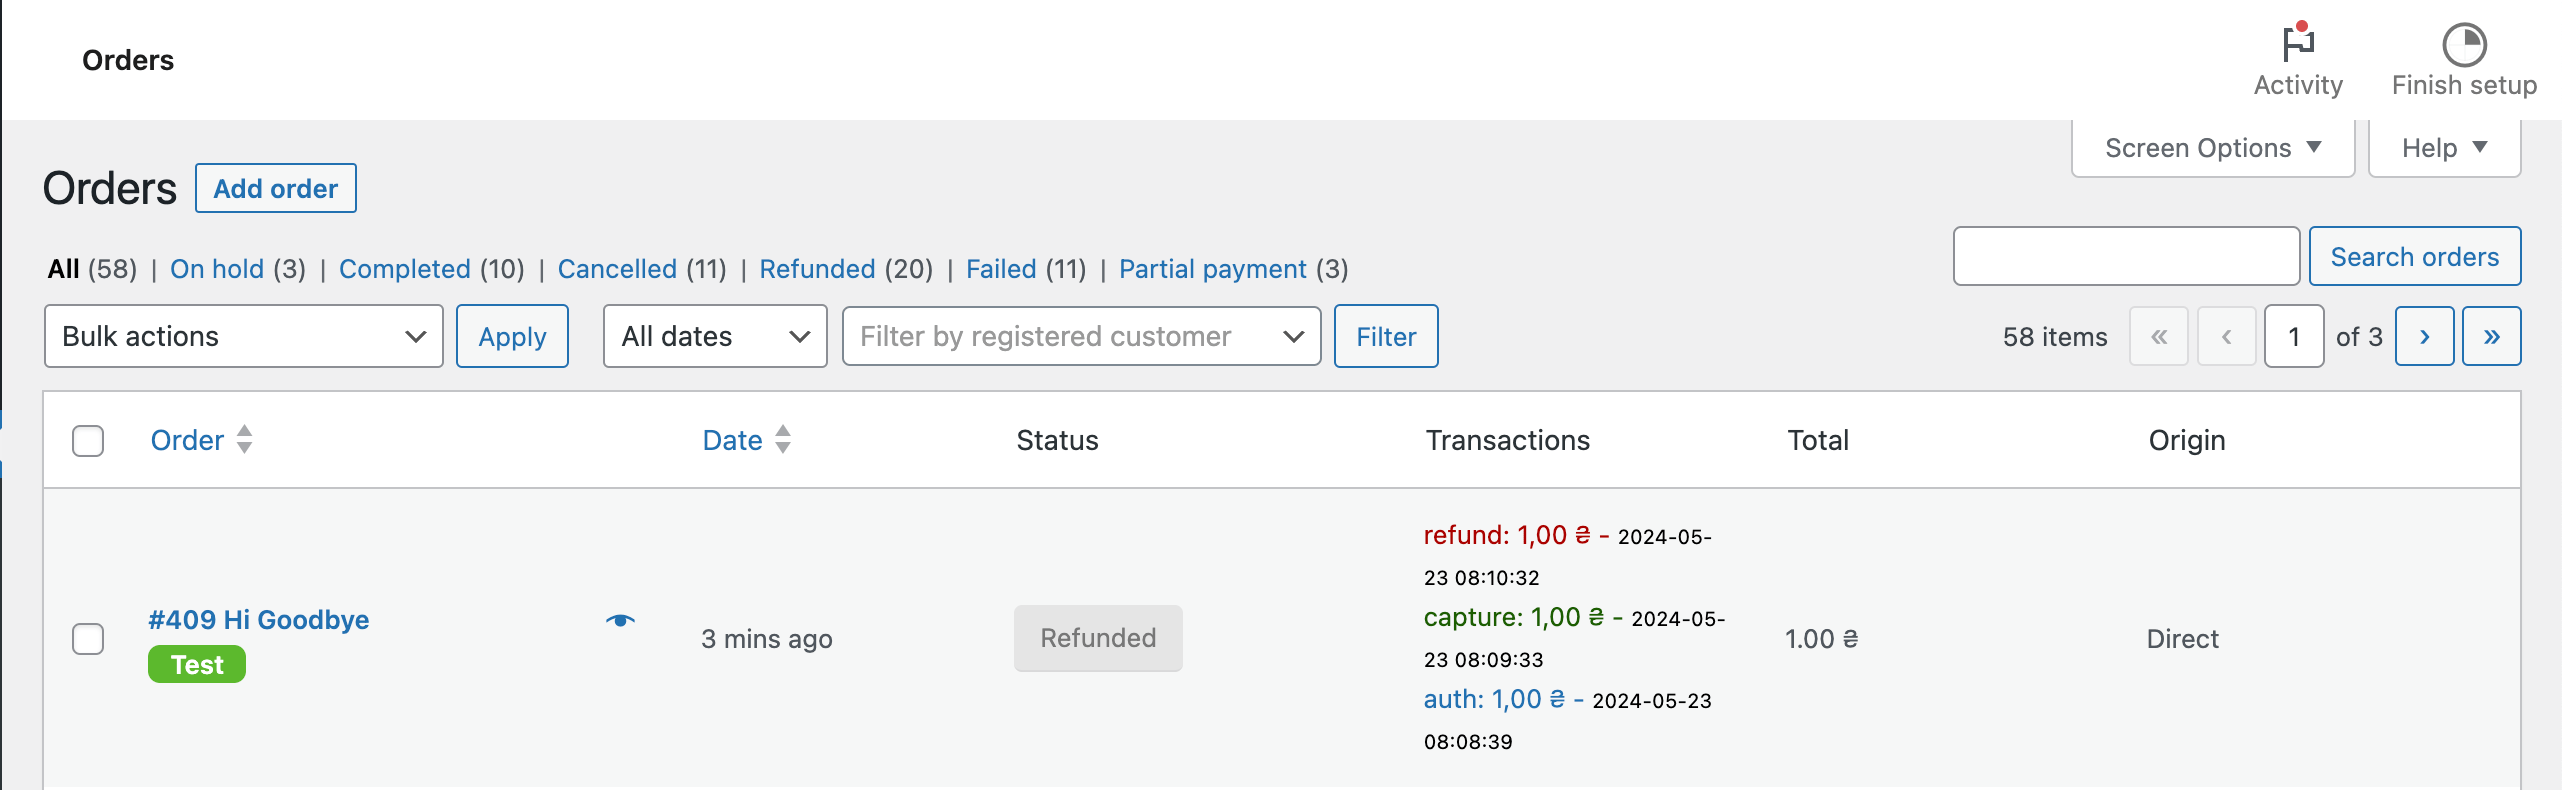
Secondary operations (capture, void, refund) can only be performed through the merchant portal.